|
Solution on Windows XP |

|

|

|

|
|
|
Solution on Windows XP |

|

|

|

|
Solution on Windows XP
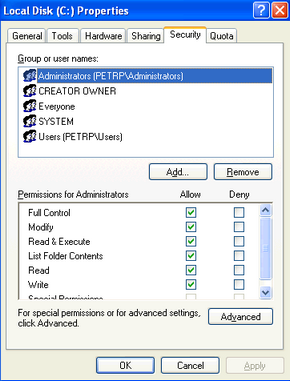
1. Open Windows Explorer, locate the folder with your website, right-click the folder and display its Properties. Choose the Security tab and click Add....
|
Missing Security tab in folder properties dialog
If you cannot see the Security tab, click Tools -> Folder options in the Windows Explorer main menu, choose the View tab and uncheck the Use simple file sharing box. Click OK. Now you should find the Security tab in the folder properties dialog.
|
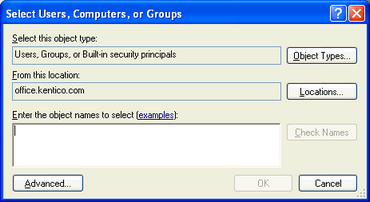
2. The Select Users, Computers and Groups dialog appears. Click Locations....
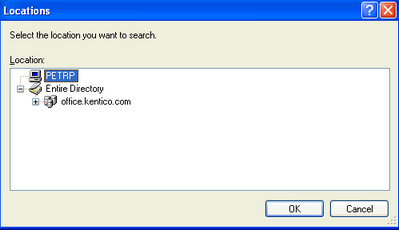
3. Choose your local computer in the pop-up window and click OK.
4. Enter aspnet into the box and click Check Names. The name should be resolved to <your computer name>\ASPNET. Click OK.
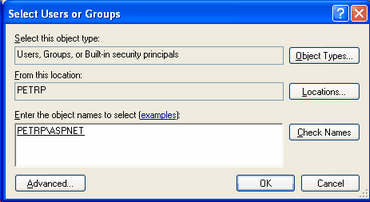
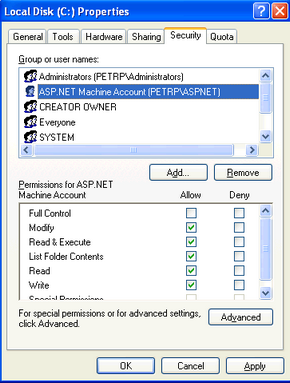
5. The account is added to the list of accounts. Grant the Modify permission to the account and click OK.
